Registering Single Tenant in Organizational Directory
This section describes how to register access to OVOC for operators from a single organizational tenant in the Organizational directory. For this deployment operators retrieve their security level from OVOC through a mapped Azure security group. A security group must be defined on Azure for each required security level. You must then assign operators to the relevant group accordingly. After performing this procedure, add the Azure groups and their operator members (see Create Azure Groups and Assign Members). These groups are mapped to OVOC for retrieving the operator security levels.
|
2.
|
Under Manage Azure Active Directory, select View. |
|
3.
|
In the Navigation pane, select Manage > App registrations. |
|
4.
|
Click New Registration. |
|
5.
|
Enter the name of the OVOC registration tenant. |
|
6.
|
Select account type: Single tenant only - MSFT. |
|
7.
|
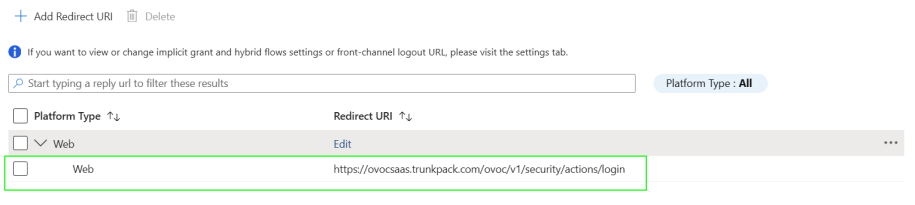
Enter the HTTPS Redirect URI (REST endpoint) for connecting to OVOC Web in the following format: https://ovocsaas.trunkpack.com/ovoc/v1/security/actions/login |
|
8.
|
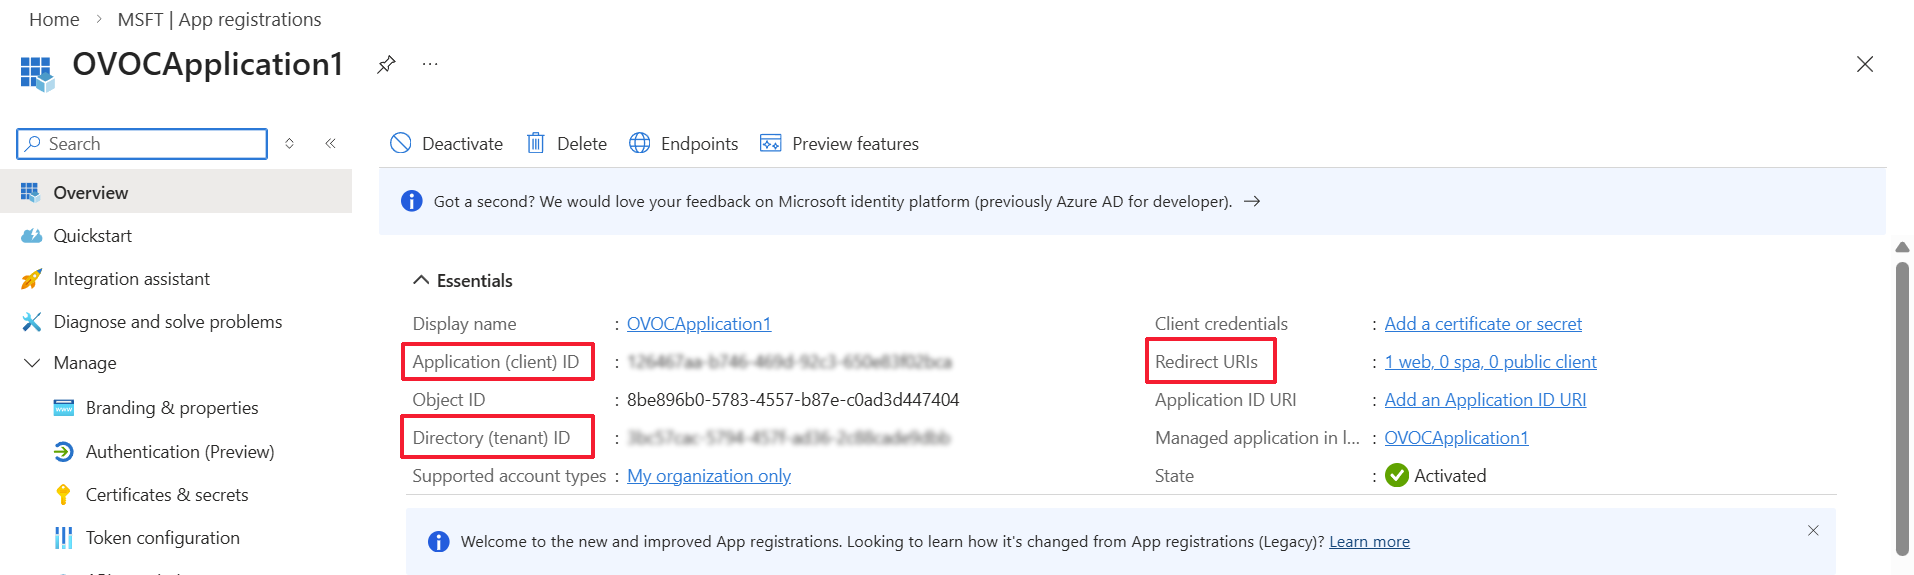
Click Register. The new app registration is displayed. |
|
●
|
Application (client) ID |
|
10.
|
In the navigation pane, select Manage > Authentication (Preview) or click the Redirect URIs link. |
|
11.
|
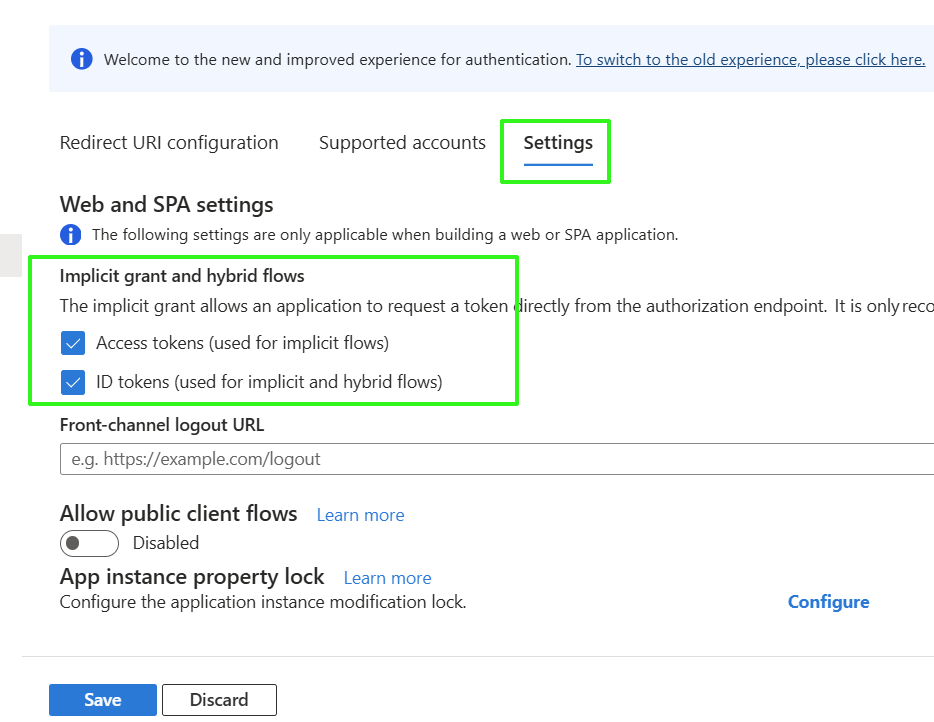
Click the Settings tab and under "Implicit grant and hybrid flows" configure the following: |
|
●
|
Access tokens (used for implicit flows) |
|
●
|
ID tokens (used for implicit and hybrid flows) |
|
13.
|
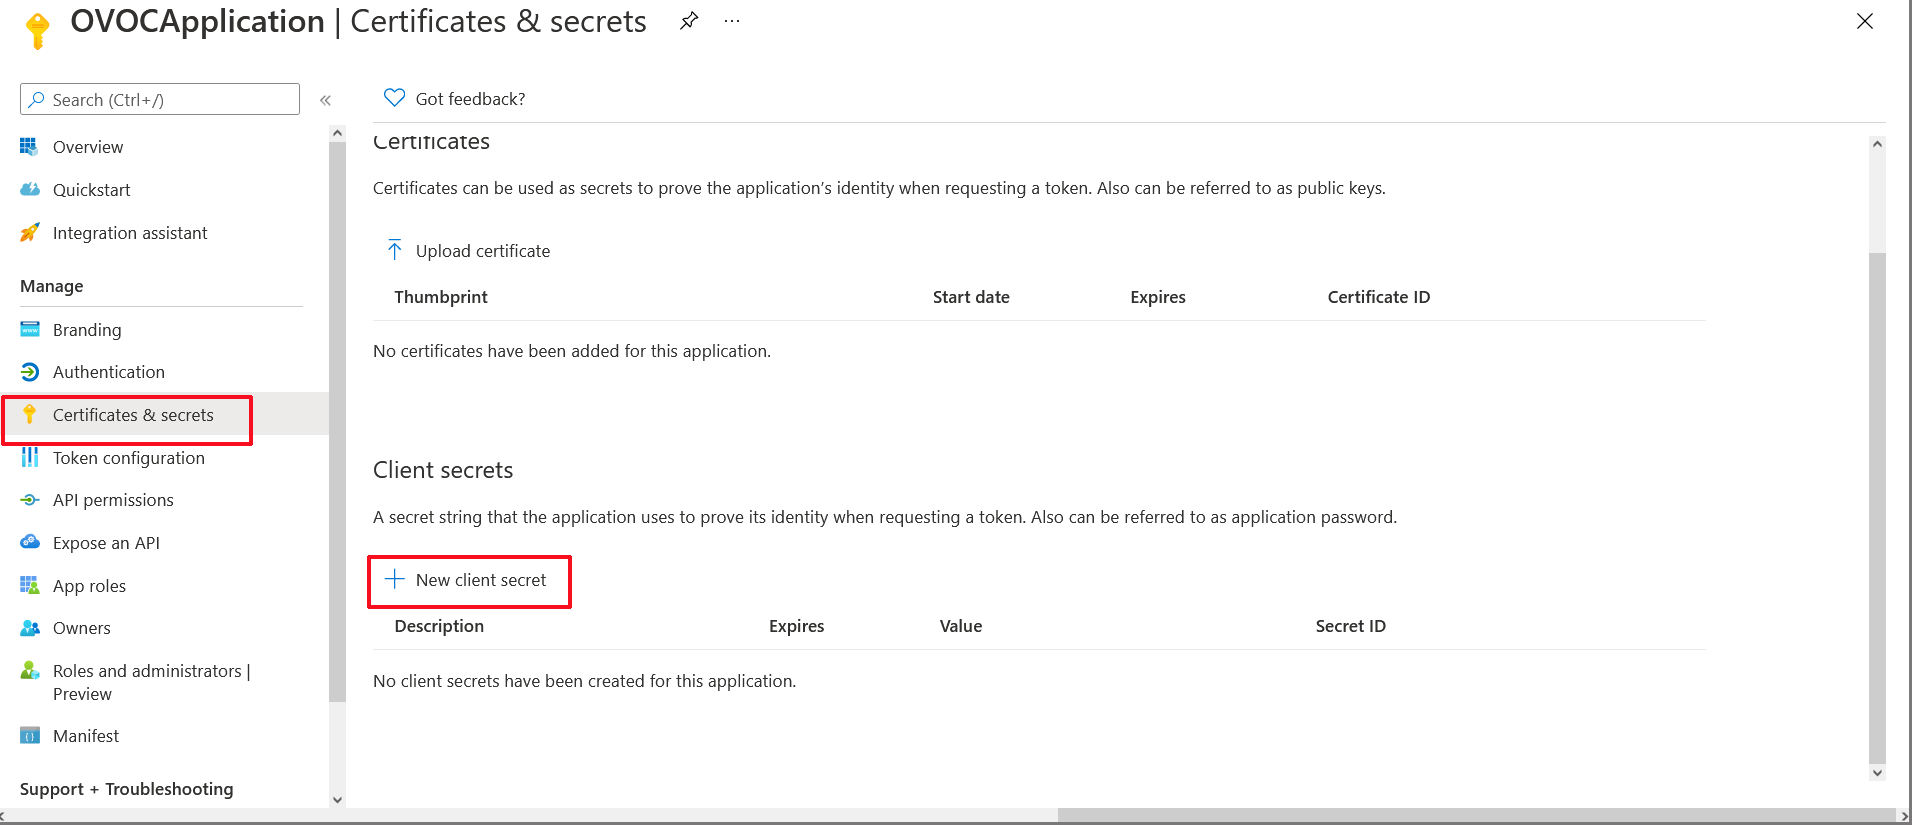
In the navigation pane, select Manage > Certificates & secrets. |
Certificates & secrets
|
14.
|
Click New client secret. |

|
15.
|
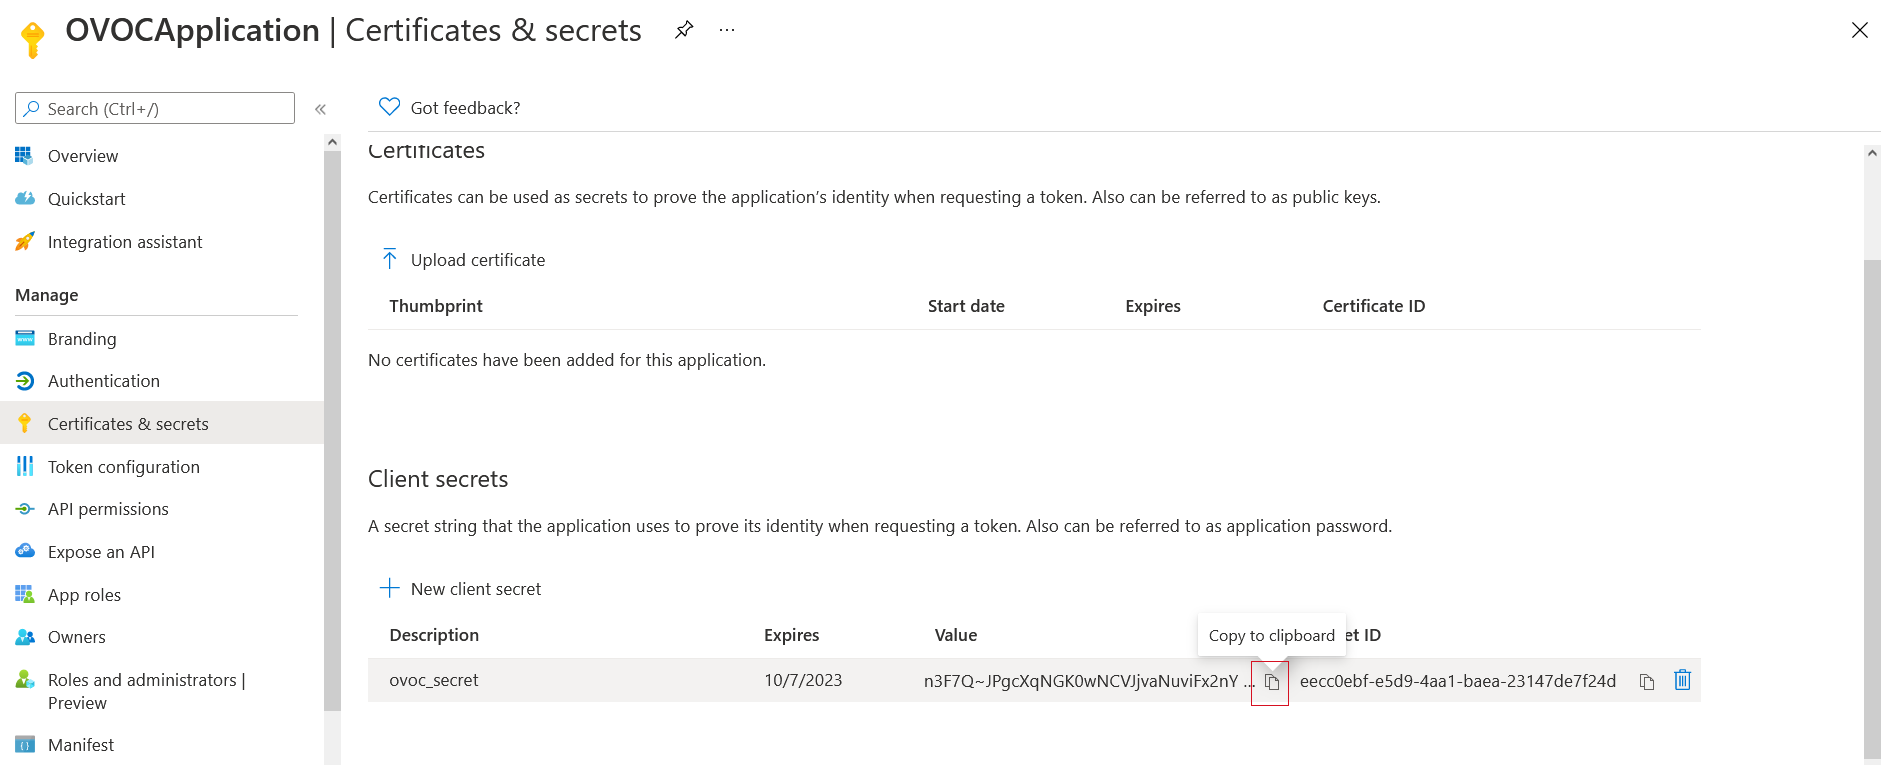
Enter a description and from the drop-down list select 24 months. |
|
17.
|
Copy the secret Value to clipboard as its required in later configuration and cannot be retrieved once you leave this screen. |
|
●
|
Copy the value immediately to notepad as it hashed after a short time. |
|
●
|
If you use the Application registration to create additional services, a new secret should be created for each new service. |
|
18.
|
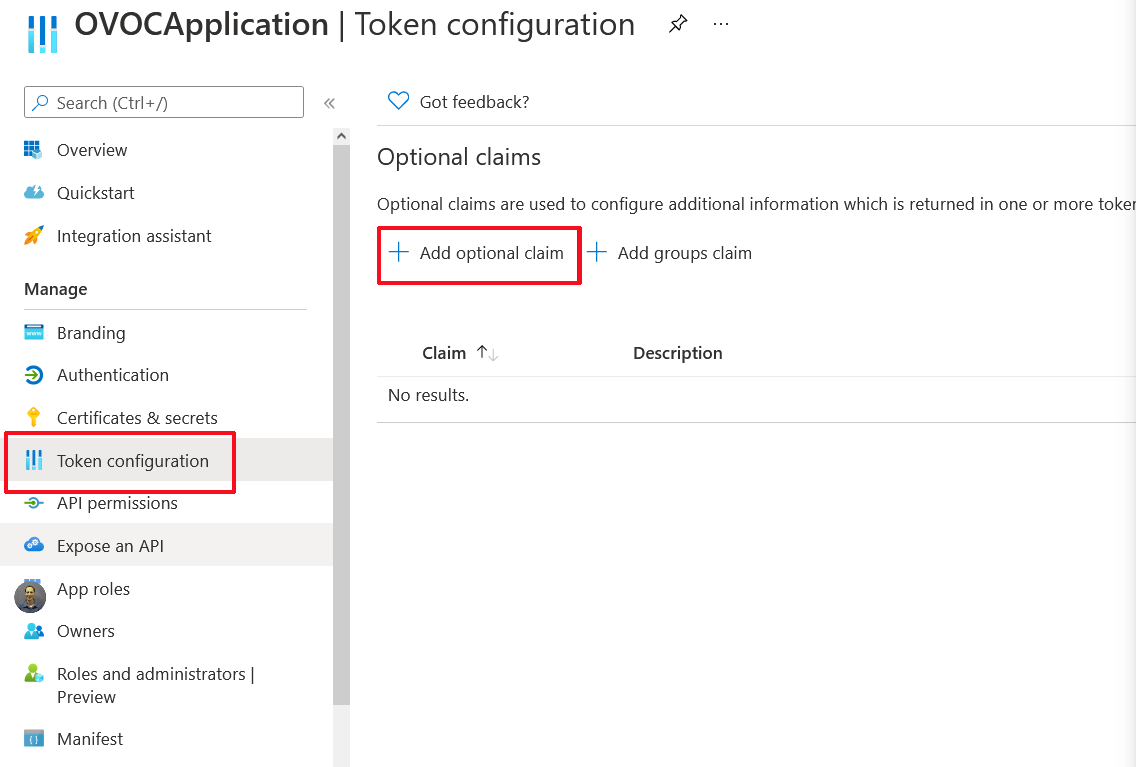
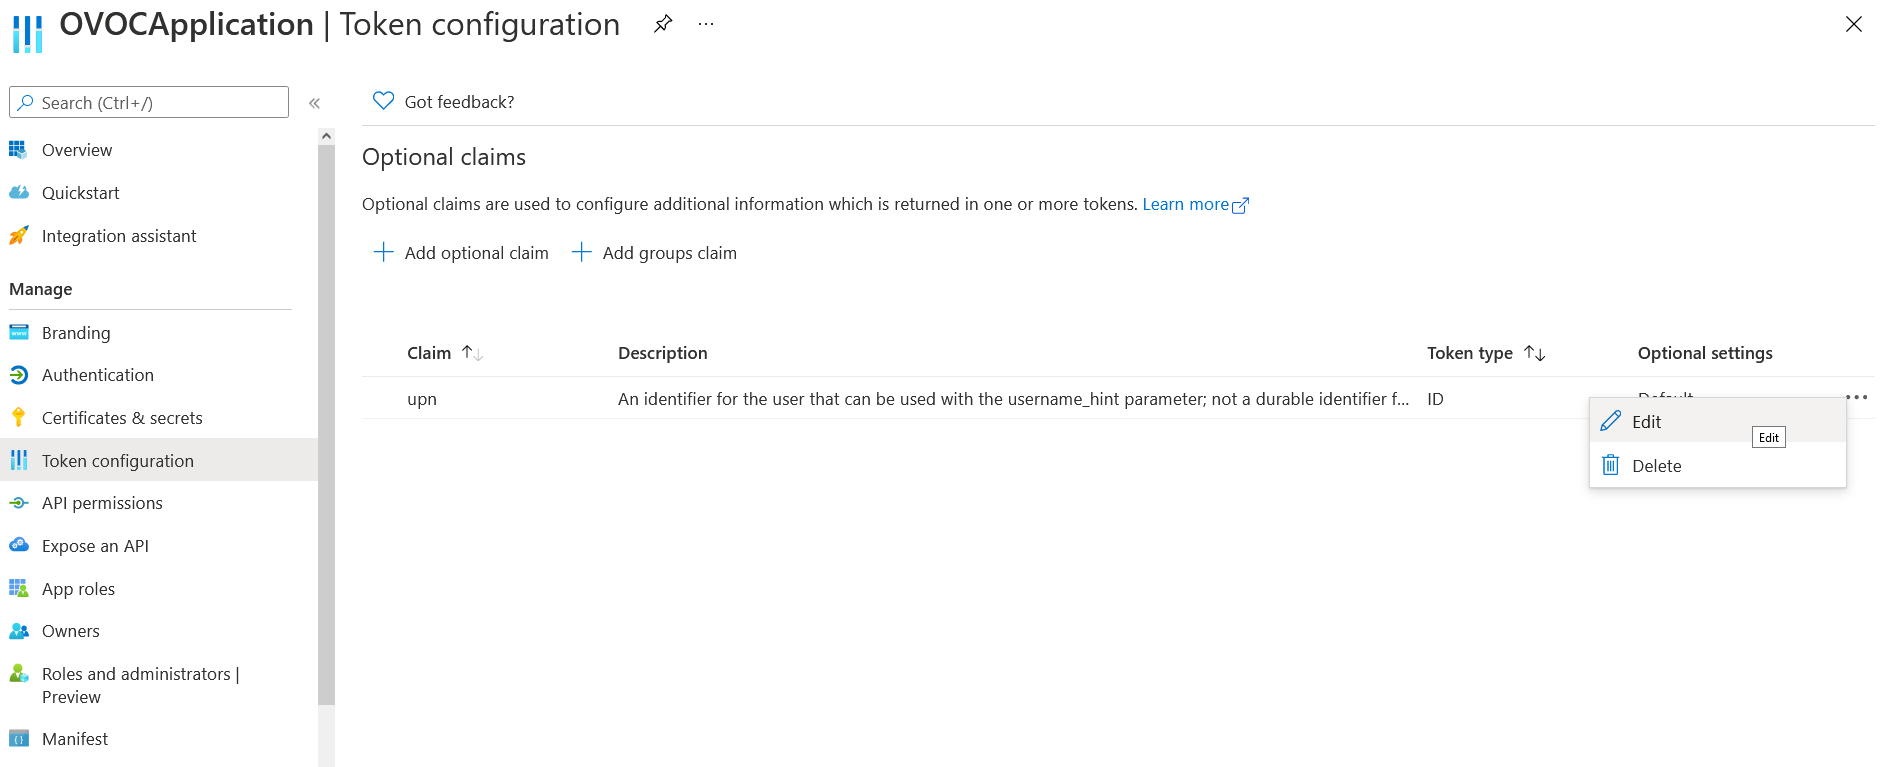
In the navigation pane, select Manage > Token configuration. |
|
19.
|
Select Add optional claim. |
|
20.
|
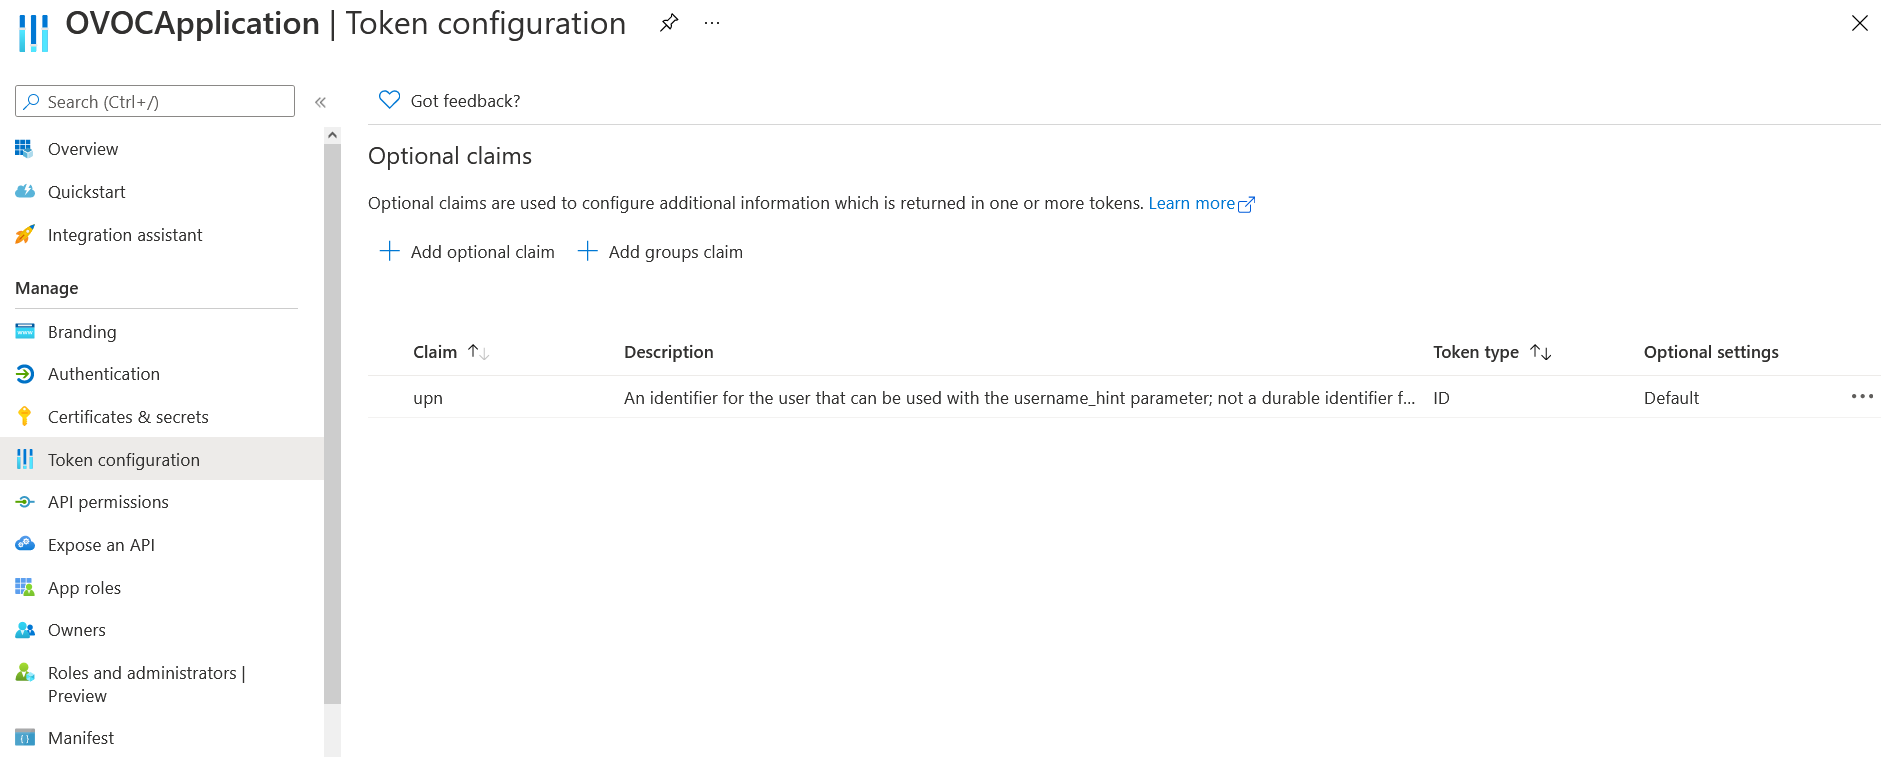
Under Token Type, select ID. |
|
21.
|
Under Claims, select the upn check box. |

|
23.
|
Select the Turn on the Microsoft Graph profile permission check box and then click Add. This adds the Profile permission to the API permissions list. The new claim is displayed. |
|
24.
|
Right-click the newly added token and select Edit. |
|
25.
|
Under Edit UPN (ID token), select Yes to Externally authenticate guest users (users that are not members of the organization's Azure defined groups). |

|
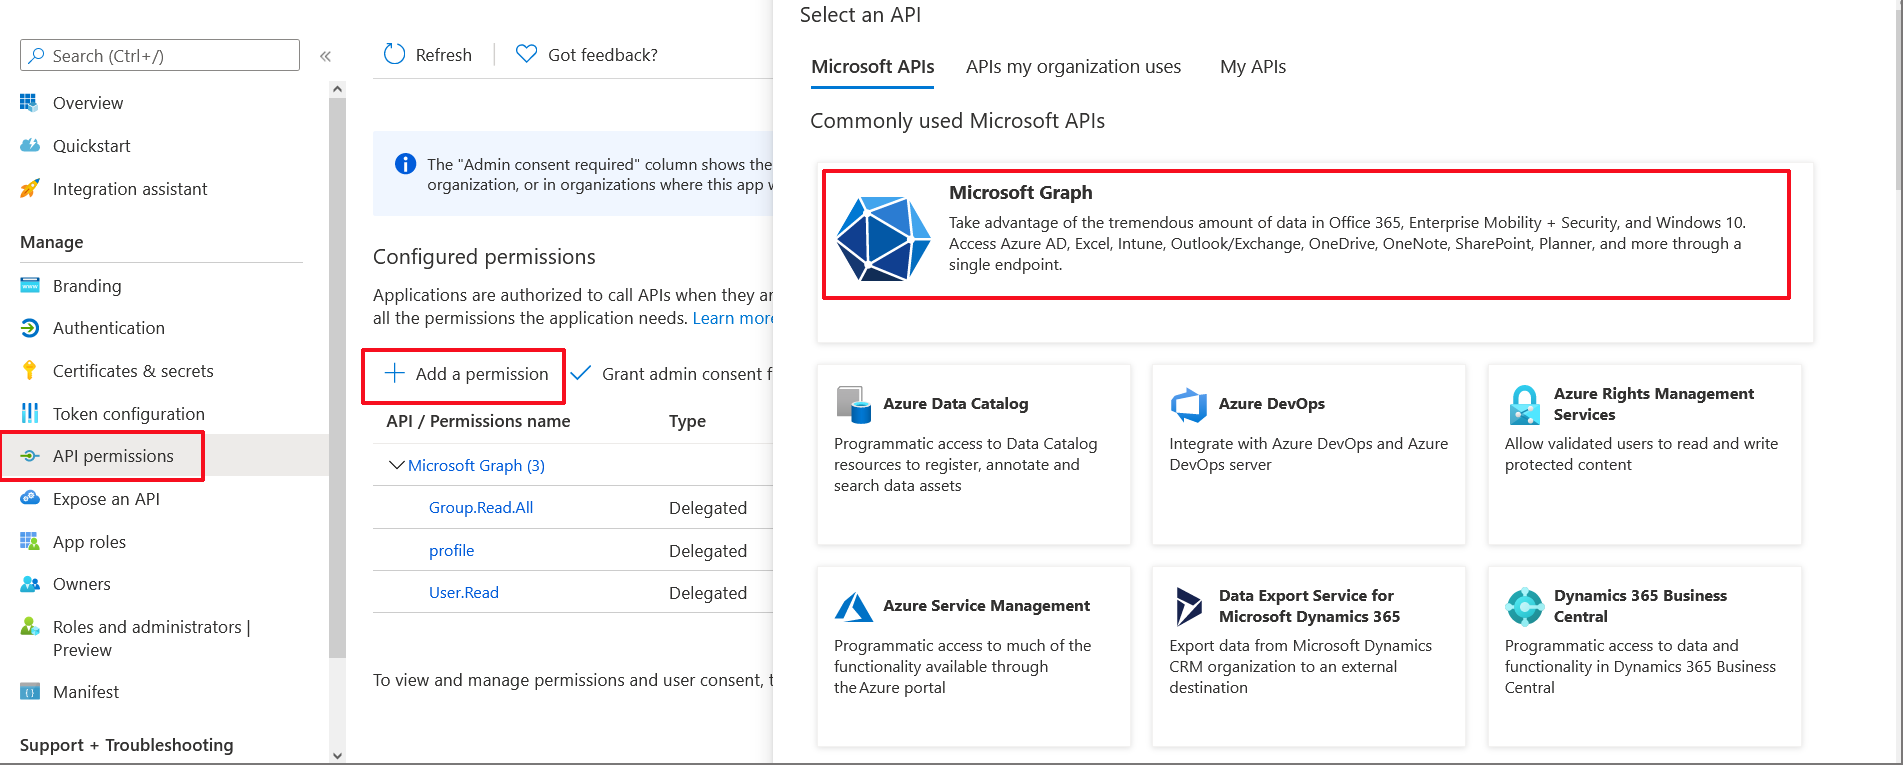
27.
|
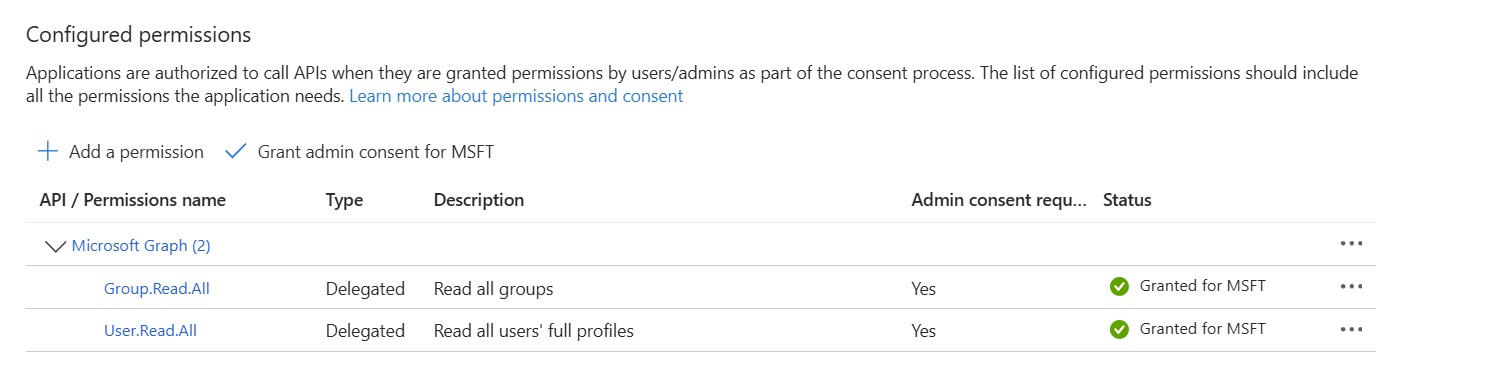
In the Navigation pane, select Manage > API permissions. |
API Permissions
|
28.
|
Click Add a permission and then click the Microsoft Graph link. |

|
29.
|
Click Delegated permissions. |
|
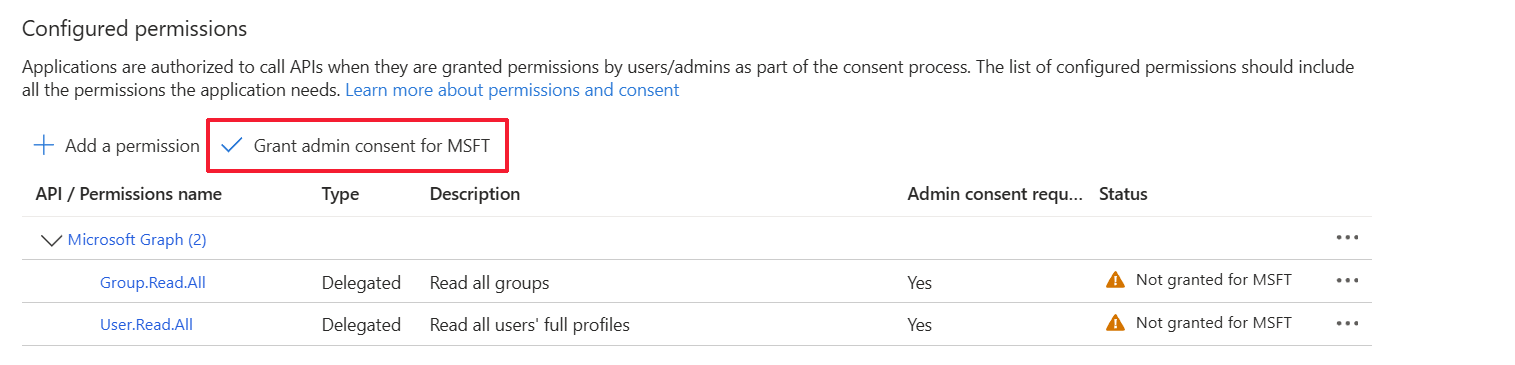
30.
|
Select Group.Read.All for OVOC to read permissions from all user groups defined for the tenant, and then click Add permissions. |

|
31.
|
Add Delegated permission User.Read.All and then click Add permissons. |

|
32.
|
Click Grant admin consent for <Tenant_Name> link to grant consent for the requested permissions for all accounts for this tenant, and then click Yes to confirm. |